Refreshing your bathroom's appearance can be achieved promptly by mastering the art of replacing bath panels for an updated, smart style.
In the realm of home improvements, replacing a bath panel might seem like a daunting task, but with the right tools and a bit of know-how, it's a project that many DIY enthusiasts can tackle. Kieren Connaghan, a seasoned plumbing and heating tradesman with 14 years of experience, has shared some insights to help you navigate this task with ease.
Preparing for the Job
Before you start, gather your tools. A cordless drill is recommended for everyday drilling tasks, while a compact and sturdy saw with a soft grip is ideal for cutting plastic panels. A well-built caulking gun with a finger moulded trigger and high thrust ratio is suggested for applying sealant. Don't forget the essentials - screwdrivers, a tape measure, a spirit level, and cleaning materials.
Measuring and Choosing the Right Panel
Bath panels are not one size fits all. After removing the old panel, measure the distance from the rim of the bath to the floor and the length of the bath to determine the appropriate height and length for the new panel. Most manufacturers only sell the standard sizes, which are 1500mm, 1600mm, 1700mm, 1800mm, and 1900mm. However, most bath panels can be trimmed to ensure a precise fit.
Selecting the Design
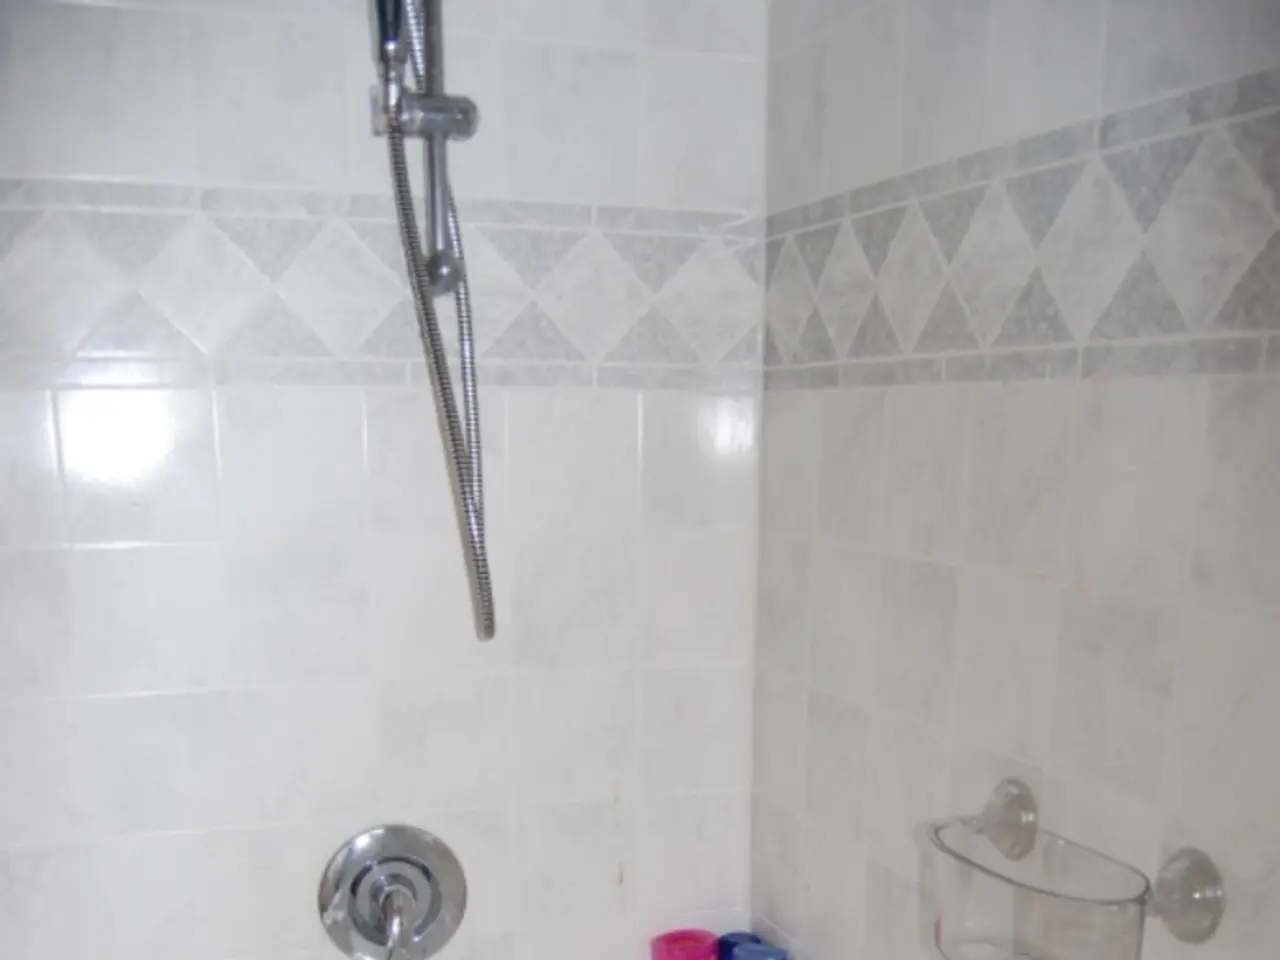
Common bathroom bath panel design ideas include using waterproof wall panels that emulate luxurious materials and offer easy maintenance. Popular choices are marble-effect panels that create a spa-like atmosphere, mixing light and dark panels for visual contrast, and contemporary concrete-effect panels for sleek minimalist looks.
Replacing the Panel
To replace a bath panel, first, remove the old panel by looking for screws or clips holding it in place and using a screwdriver to remove them or gently unclip the panel. Align the new panel under the bath lip and against the bath frame or supports, and hold it up against the bath to test the fit. Attach the panel using screws or clips provided with the new panel, or use wood screws or self-tapping screws for wooden or plastic panels if no fittings are provided.
Sealing the Panel
You don't typically need to silicone a bath panel, but you will need to seal the bottom of the bath panels where it meets the floor, so water doesn't run under the bath. Add sealant where needed, typically along the bottom of the panel.
Tips for a Successful Replacement
- Write down the measurements to avoid needing to measure again.
- Use a spirit level to ensure that the panel is straight and check if any adjustments need to be made around pipes or skirting boards.
- If you're using MDF panels, remember to seal and paint them to make sure they are water resistant.
With these tips in mind, replacing a bath panel should take no longer than two hours, but getting the job done in 30 minutes is doable, depending on the type of panel, any adjustments needed, and your experience. Happy DIYing!
References: [1] Bathroom Wall Panels: A Comprehensive Guide [2] How to Install a Bath Panel [3] Bathroom Wall Panels: Design Ideas and Inspiration
- For home improvement projects, acquiring the right tools such as a cordless drill, a compact and sturdy saw, a caulking gun, screwdrivers, a tape measure, a spirit level, and cleaning materials is essential.
- Bath panels come in standard sizes like 1500mm, 1600mm, 1700mm, 1800mm, and 1900mm, but they can be trimmed to fit precisely.
- When selecting a new bath panel, consider design ideas like using waterproof wall panels that mimic luxurious materials for easy maintenance.
- To replace a bath panel, first, remove the old one by looking for screws or clips, align the new one, and attach it using screws or clips provided, or wood or self-tapping screws.
- After replacing, seal the bottom of the bath panel where it meets the floor with sealant to prevent water from running under the bath.
- Tips for a successful bath panel replacement include writing down measurements, using a spirit level, and sealing and painting MDF panels to make them water-resistant.
- Home-and-garden enthusiasts can complete a bath panel replacement project in as little as 30 minutes, but the average time is two hours, depending on factors like the type of panel, adjustments needed, and experience.
- For more guidance on bathroom wall panels, refer to resources like "Bathroom Wall Panels: A Comprehensive Guide," "How to Install a Bath Panel," and "Bathroom Wall Panels: Design Ideas and Inspiration."


