Instructions for DIY Shower Installation: A Simple, Step-by-Step Tutorial
**Installing a Thermostatic Mixer Shower: A Step-by-Step Guide**
Thermostatic mixer showers have become a popular choice for homeowners and care environments due to their ability to provide safe, comfortable, and reliable temperature control. Here's a comprehensive guide on how to install one in your bathroom.
**Materials Needed**
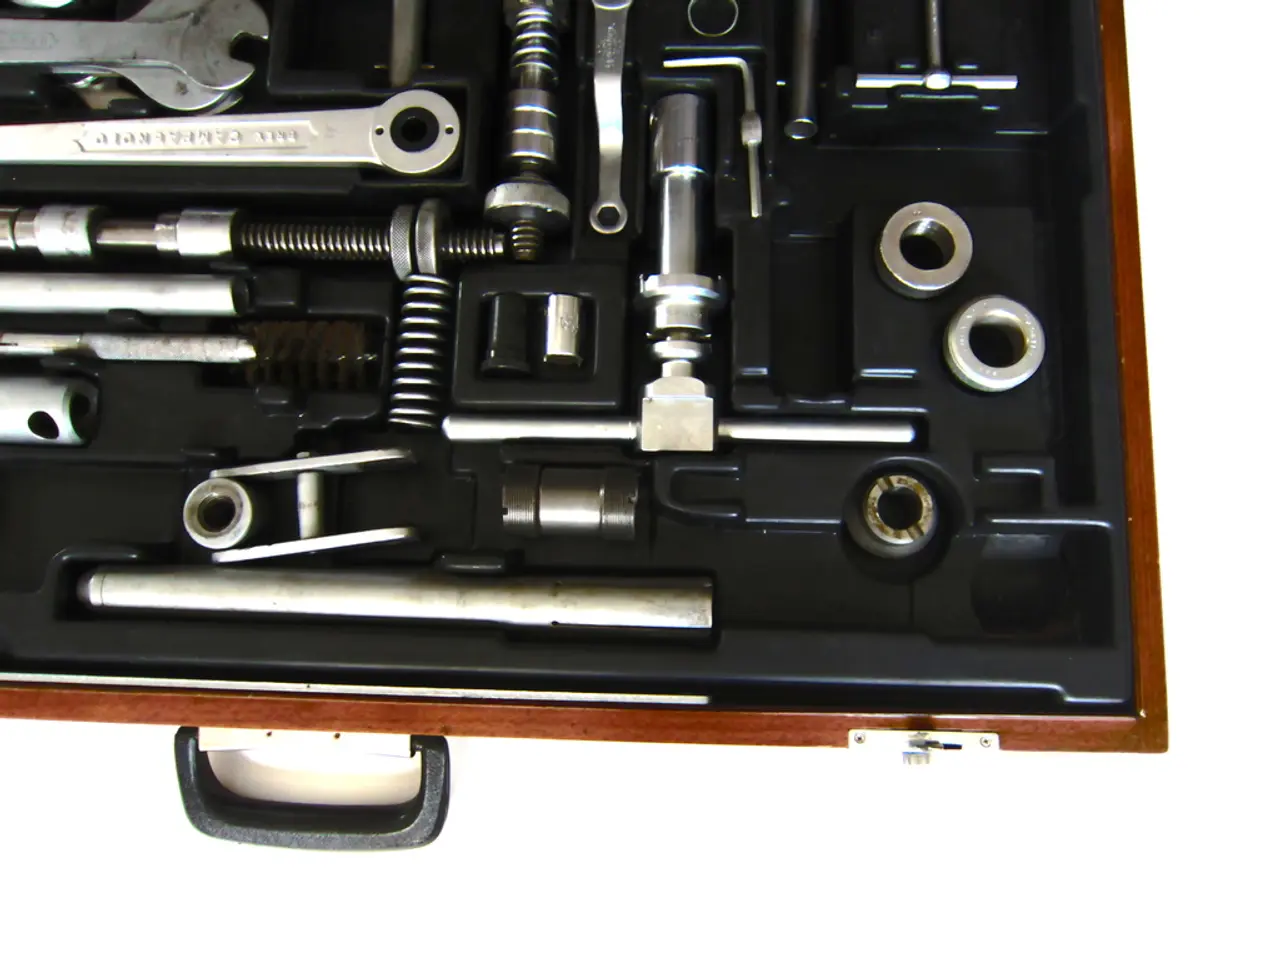
- New thermostatic mixer shower unit (including valve cartridge, trim plate, handles, showerhead, and riser rail if included) - Basic plumbing tools: Adjustable wrench or spanners, screwdrivers (flat and Phillips), pliers, hacksaw or angle grinder (if enlarging the shower wall hole is required), pipe cutter and pipe fittings (if modifying or extending plumbing) - Sealants and lubricants: PTFE tape for threaded pipe joints, silicone caulk for sealing around the trim plate, lubricating spray like WD-40 for stuck cartridges - Other materials: Retainer clip for securing the valve cartridge (usually supplied with the unit), drop cloths, paper towels or rags, shut-off valves for hot and cold supplies
**Installation Overview**
1. Prepare the shower wall by ensuring the hole is the right size to fit the new thermostatic mixer valve. Enlarge if necessary with a hacksaw or angle grinder. 2. Remove the old valve cartridge by extracting the retainer clip and pulling the cartridge out (use lubricant if stuck). 3. Insert the new thermostatic valve cartridge and secure it with the retainer clip. 4. Reattach the trim plate and shower handles. 5. Turn on the water supply and test for leaks. 6. Caulk around the trim plate to prevent water ingress behind the wall.
**Fitting the Pipework**
- Include a shut-off valve on both hot and cold supplies as close as possible to the shower when setting up the pipework for a thermostatic mixer shower. - Cut both outlet pipes to length. A circular pipe slice-style cutter works well in tight spots. - Check for leaks at the inlet pipes after turning the stopcock back on. - Secure valve: Put a collapsible olive into each inlet on the thermostatic shower valve and secure by screwing the retaining nut on by one turn.
**Drilling and Mounting the Valve**
- Drill holes: Mark off and drill the holes for the thermostatic valve. If drilling into tiles, use a diamond-tipped tile drill bit. - Measure for outlet pipe: Offer up the shower valve and mark off the amount of outlet pipe required to allow the valve to fit flush to the wall. - Fit riser: Trial fit the riser pipe between the valve and bracket, make sure the pipe is vertical using a spirit level, drill and plug the holes, fully fit the riser, and tighten the nuts top and bottom.
**Finishing Touches**
- Fit shower head: Some kits feature an extension piece that attaches to the riser's top bracket and takes the shower head. Fit this and then screw on the shower head. - Check for leaks and thermostat functionality: Run the shower and check for leaks. Make sure the thermostat works by switching on taps and checking that the shower temperature remains constant. - Thermostatic mixer showers utilize a home's hot and cold-water supplies to achieve a comfortable showering temperature.
**Important Note**
- Thermostatic shower valves can be damaged if there is dirt in the water flowing through them, so the new pipework should be flushed before use. - Always use pipe inserts at joints to stop plastic pipe from deforming when fitting a thermostatic mixer shower.
With these steps, you can confidently install a thermostatic mixer shower in your bathroom, ensuring a safe and enjoyable showering experience for years to come.
- When remodeling your home-and-garden, consider incorporating an extension of your home's plumbing system to accommodate a new thermostatic mixer shower.
- For a successful DIY project, gather the necessary tools such as pliers, wrenches, hacksaw, angle grinder, and pipe cutter to install a thermostatic mixer shower.
- In preparing your lifestyle for the comfort of a thermostatic mixer shower, don't forget to have ideas about the design and style of the tools you'll need, like trim plates and showerheads, to achieve your desired bathroom renovation.
- As you build your ideal home bathroom, consult a guide or expert for advice on the installation of a thermostatic mixer shower, ensuring that the final product is safe, efficient, and stylish.


