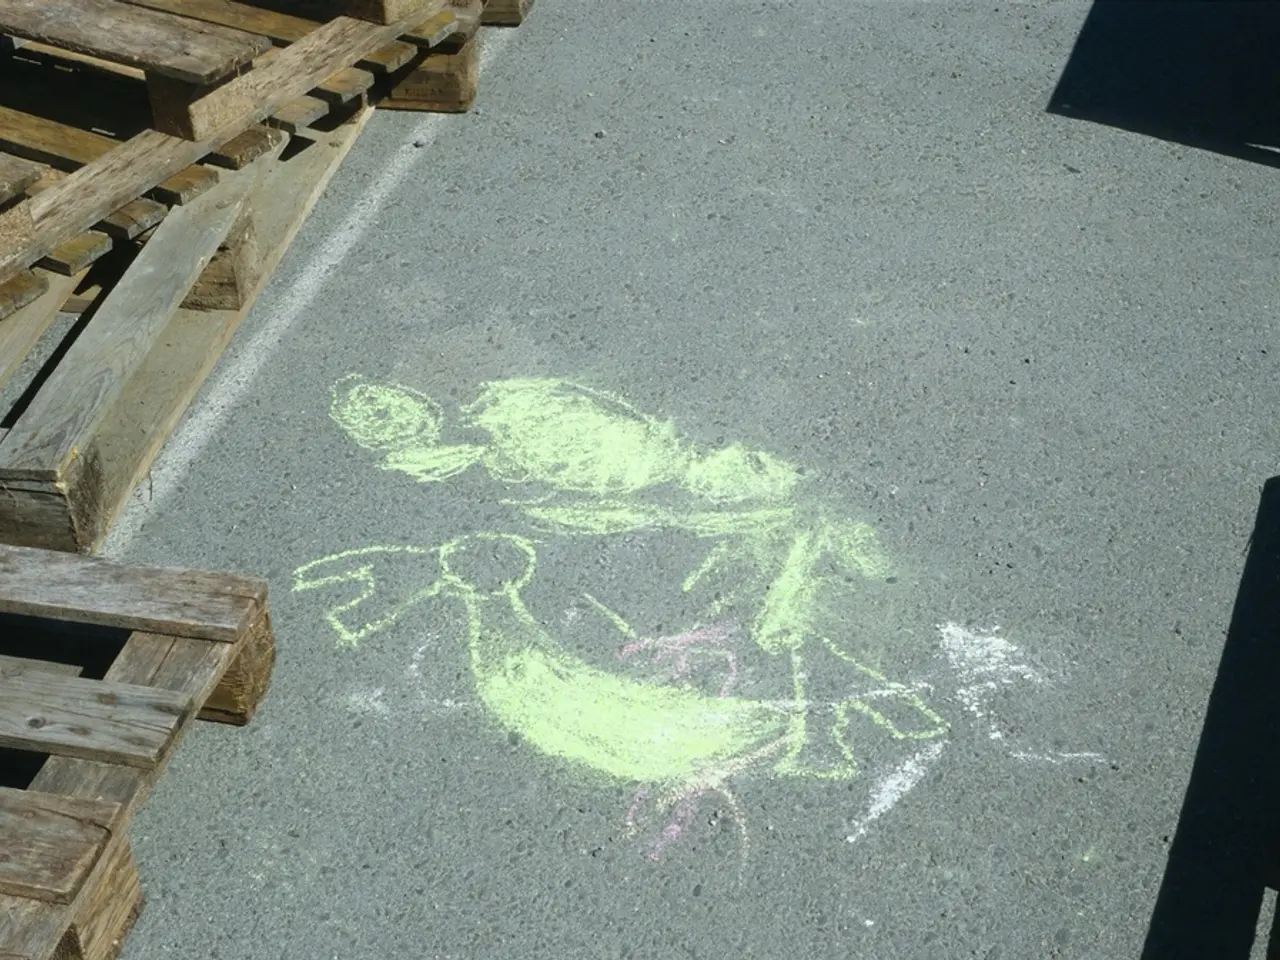
Create Homemade Popsicle Chalk: A Fun and Easy DIY Craft Project
If you're looking for a creative and engaging activity to keep children entertained during the summer months, look no further than making popsicle chalk! This easy-to-follow guide will walk you through the process of creating your own popsicle-shaped chalk using common household items.
### Materials Needed - Plaster of Paris (POP) - Water - Tempera paint (for color) - Popsicle molds - Popsicle sticks - Petroleum jelly or cooking oil (for greasing molds) - Mixing bowls - Stirring stick or spoon
### Step-by-Step Instructions
1. **Prepare the Mixture:** - Measure equal parts by volume of plaster of Paris and water in a bowl. - Stir the mixture quickly to ensure it's smooth with no lumps.
2. **Add Color:** - Add tempera paint to the plaster mixture to your desired color intensity. - Mix well to evenly distribute the paint throughout the plaster.
3. **Prepare the Molds:** - Grease the popsicle molds lightly with petroleum jelly or cooking oil to make it easier to remove the chalk once dry.
4. **Pour and Insert Sticks:** - Pour the colored plaster mixture into the popsicle molds. - Insert a popsicle stick into each mold, positioning it in the center.
5. **Allow to Set:** - Let the plaster of Paris set and dry completely. This usually takes around 24 hours, but can vary depending on the size of the mold and humidity level.
6. **Remove Popsicle Chalk:** - Once dry, carefully remove the popsicle chalk from the molds. - Your colorful, popsicle-shaped chalk sticks are ready!
This DIY method creates fun, colorful chalk that looks like popsicles — perfect for summer crafts or sidewalk chalk art. Using tempera paint is an effective way to color the plaster, as it's water-based and mixes well with plaster of Paris. If you want to experiment, you can create multiple colors by mixing different tempera paints in separate bowls before pouring into the molds.
[1] Image credit: Elba Valverde [3] For best results, allow the chalk popsicles to dry for an additional 2-3 days to ensure they are fully hardened. Store them in a dry place to prevent them from crumbling. [3] If your popsicle molds are not non-stick, apply a small amount of petroleum jelly before pouring the plaster mixture to facilitate removal.
Engage in a home-and-garden project that combines art and creativity with your lifestyle by attempting this DIY popsicle chalk craft. To elevate your home's aesthetics, consider painting your home's exterior or updating your outdoor furniture with popsicle-shaped chalk pieces as unique decorations.


